


Metal wall art adds a sleek, modern touch to any space—and hanging it properly makes all the difference. Whether you’re decorating with a single standout piece or creating a full gallery wall, metal prints are easy to display with the right approach. From choosing the best placement to using the correct mounting hardware, this guide will walk you through everything you need to know to hang metal wall art securely and stylishly.
What You’ll Need:
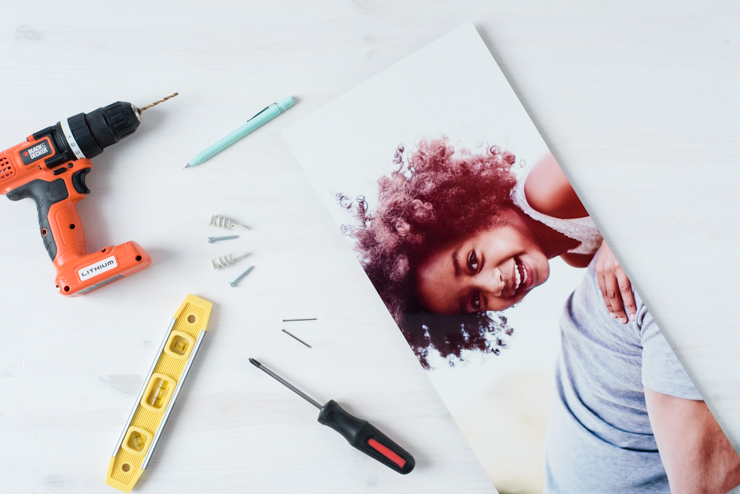
- Metal print
- Hanger
- Screwdriver and/or drill
- Wood screws or nails
- Level
- Tape measure
- Pencil
- Stud finder
How to Hang Metal Wall Art
Step 1: Choose a strong hanger
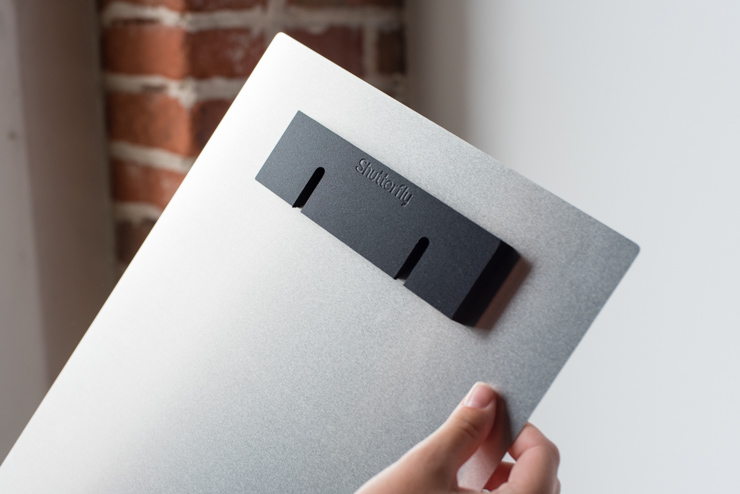
Make sure whatever you use to hang your metal wall art can support its weight. Shutterfly’s unframed metal prints come ready to hang with a mounting block on the back, while framed options include a metal sawtooth hanger. If you’re hanging a metal print that doesn’t come with built-in hardware, a sturdy picture wire or sawtooth bar is a good alternative.
Step 2: Find a stud in your wall using a stud finder
Because metal wall art tends to be heavier than other framed artwork, you’ll want to mount your piece in a safe place. Hanging it directly on drywall or plaster could leave you with a torn or damaged wall.
Studs run vertically within a wall and are a fundamental element in the wall’s frame and structure. To find a stud, turn on your stud finder and place it on the wall. Slide the device along the wall horizontally. A light will indicate when a stud has been found. Mark the wall with a pencil so you know exactly where the stud is located.
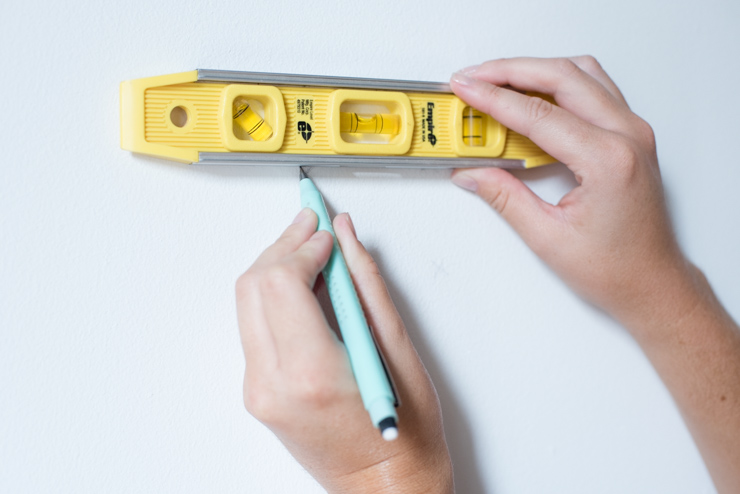
Step 3: Mark where you wish to hang your art

By finding a stud, you know the vertical line on which you can hang your artwork. Choose the spot along the stud line where you wish to hang your piece, and mark it clearly with a pencil.
Step 4: Determine the hanger’s placement
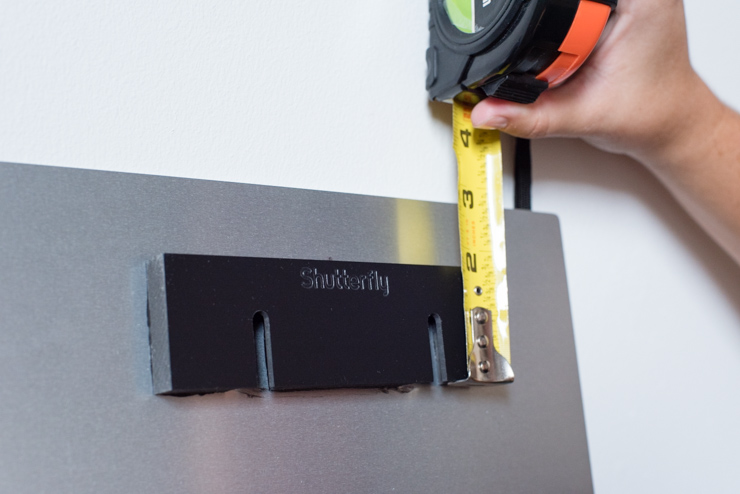
In order to get your print placed just where you want it, you need to determine how low the hook or wire is on the back of the art piece. To find this, measure the distance from the hook or wire to the top of the artwork. Record the measurement on a piece of paper.
Step 5: Mark your exact hanging spot
The pencil mark you made in Step 3 indicates where you want your metal wall art to hang. Moving downward from that pencil mark, measure the distance you recorded in Step 4. Mark the new spot with pencil in a manner that’s distinct from your original marking.
Congratulations! Now you have the exact location to place your screw.
Step 5: Secure the hanger on the stud
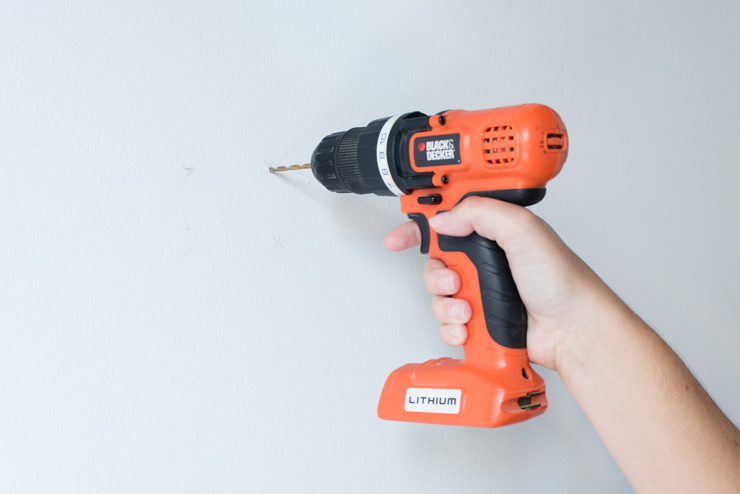
Using your screwdriver or drill, secure the screw into the wall at the exact location you marked in Step 5. The screw should be long enough to penetrate the stud in the wall and have enough leftover length for your hook or hanger to rest comfortably on the end. You may need to create a pilot hole using a drill before inserting the screw.
Step 6: Hang your metal print on the hanger
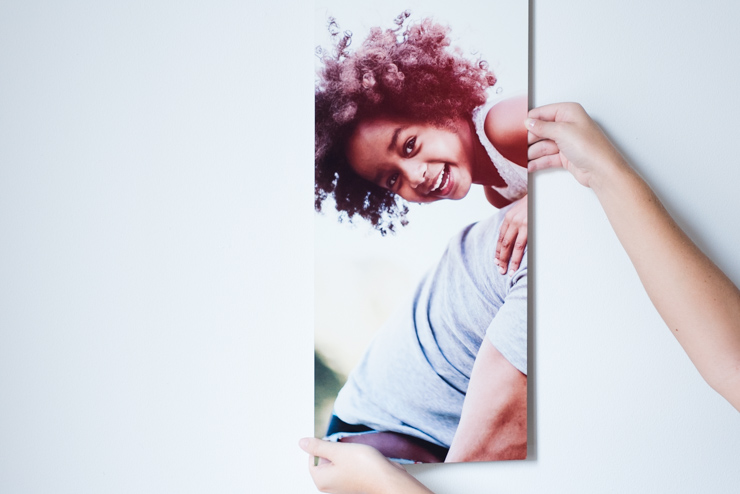
Carefully latch your artwork on the hanger. Before releasing the piece, ensure that you can feel the hanger and full weight of the artwork secured on the screw.
Step 7: Use a level to verify that your piece is even
Place your level on top of your metal wall art. See if the bubbles in the level indicate that it’s straight. Adjust your piece as needed until it rests in a perfectly even position.
Now step back, and admire how beautiful your new artwork looks in the room!
Tips for Hanging & Creating Metal Prints:
1. Hang at the Right Height
Don’t just fill a blank space. Think about how your metal wall art interacts with the rest of the room. A good guideline is to hang it so the center of the piece sits at eye level, especially when placing it above furniture. This helps your art feel grounded and thoughtfully placed.
2. Pick Photos That Pop
Metal photo prints have a sleek, glossy surface that enhances color, contrast, and detail. Choose photos with vivid tones, dynamic compositions, or real emotion. Candid moments, sunsets, or bold landscapes tend to shine on this format.
3. Match Your Space or Make a Statement
Take the room’s style and color palette into account when choosing your image. A coordinated photo can pull everything together, while something unexpected can stand out in the best way. Decide whether your metal print should complement the decor or be the focal point.
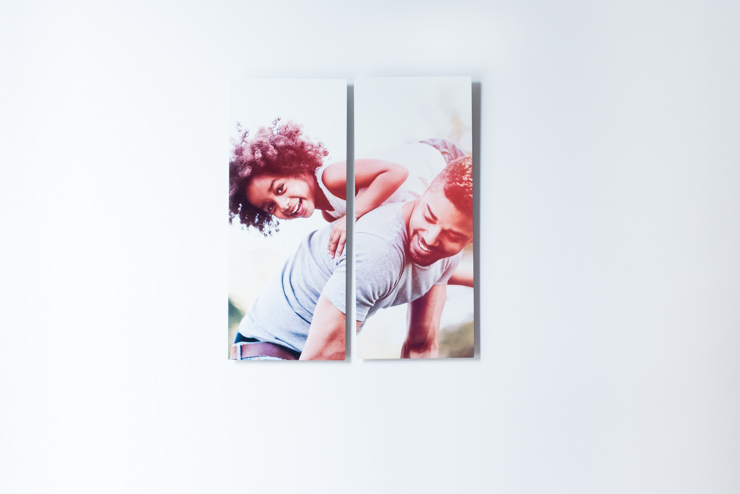
4. Go Bigger with a Gallery Wall
For more impact, turn one metal print into a gallery wall. Combine multiple pieces with a shared theme or color story, like travel photography, family portraits, or seasonal snapshots. Consistency in layout or tone will keep the gallery feeling intentional and stylish.
Related Resources on Hanging Metal Prints
Metal wall art does more than decorate. It captures what matters and gives it a bold, lasting place in your space. Whether you’re hanging one statement piece or curating an entire wall, choose photos that make you pause, smile, and remember why you took them in the first place.