


Creating a wedding photo album is a timeless way to relive your special day. Whether you want to capture the elegance of the ceremony, the joy of the reception, or the candid moments in between, a well-designed album tells your story beautifully. This guide will walk you through the essential steps to make a wedding photo book that not only preserves your memories but also reflects your unique style. From selecting the perfect theme to adding personal touches, here’s everything you need to create a stunning keepsake.
1. Pick a Wedding Album Theme
Choosing a theme for your wedding photo album is the first step in creating a cohesive, beautiful keepsake. Your theme will guide the colors, layout, and style of your album. It should match the overall aesthetic of your wedding and the vibe you want to capture.
Luckily, our templates come in a variety of styles to fit any type of wedding. Whether you had a romantic, vintage-inspired ceremony or a modern, minimalist celebration, there’s a template that fits your vision. Consider these options:
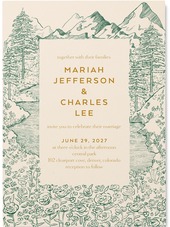
- Classic: A timeless, elegant design with clean lines and traditional layouts.
- Rustic: A warm, earthy feel, often featuring wooden textures and floral accents.
- Modern: Sleek and minimalistic with bold fonts and clean spacing.
- Bohemian: Free-spirited and whimsical with bright colors and artistic layouts.
Pick a photo book theme that resonates with you and reflects the mood you want to evoke every time you flip through the album.
2. Decide How You Want it Structured
Before you start adding photos, it’s important to decide how you want your album to flow. Think of it as telling a story — you’ll want to organize the images in a way that makes sense and flows naturally.
Here are some common ways to structure a wedding album:
- Chronologically: Start with getting ready shots, move through the ceremony, reception, and finish with candid moments or the grand exit.
- Thematically: Group photos into sections based on themes like “The Bride & Groom,” “The Ceremony,” “The Reception,” and “Family & Friends.”
- Aesthetic/Design-Based: If you have a lot of artistic or styled shots, you might group them by colors or design elements.
Once you’ve chosen a structure, you can move on to making an outline.
3. Make an Outline
Before selecting photos, it’s crucial to decide on the overall layout of your wedding album. Think of this as creating a blueprint for your book — how you want to tell the story from start to finish.
A good outline will not only help you visualize the flow of the album but also guide you in selecting the right photos to match each section.
Here’s how to break it down:
- Opening Spread: Set the tone for your album with a captivating introduction. Consider starting with a photo of your venue, a candid shot of the couple, or a family portrait.
- Getting Ready: Dedicate a few pages to capture the moments before the ceremony. This is a great opportunity for shots of the bride’s dress, the groom’s preparations, and any meaningful details like jewelry or heirlooms.
- The Venue & Ceremony: Follow up with wide shots of the ceremony space and the key moments of the ceremony itself — walking down the aisle, exchanging vows, the first kiss, and reactions from guests.
- Couple Portraits: After the ceremony, focus on capturing intimate portraits of the newlyweds. Think about a mix of candid and posed shots that showcase your love and personalities.
- The Reception: Include lively shots of your reception, such as the first dance, speeches, and candid moments with friends and family.
- Family & Guests: Don’t forget to document the people who made your day unforgettable! Include photos of the wedding party, family group shots, and shots of guests mingling.
- Closing Moments: End with a memorable closing shot — perhaps the couple’s farewell, a final group photo, or an emotional moment shared between the couple.
By establishing this outline early on, you’ll have a better sense of which photos you need to capture and how they should be arranged in the album to tell a cohesive, well-paced story.
4. Pick Your Photos: Select the Best Shots for Your Story
Once your album structure is in place, it’s time to sift through the sea of wedding day photos to choose the ones that truly tell your story. This step requires a discerning eye, as you’ll want to focus on the moments that matter most, along with shots that bring the overall album to life.
Here’s how to approach your photo selection:
- Must-Have Wedding Shots: Start by selecting essential images — the ones that capture the pivotal moments of the day. These include:
- Pre-Ceremony: The bride and groom getting ready, the bride’s dress, wedding accessories, and behind-the-scenes moments.
- The Ceremony: Candid shots of the couple exchanging vows, the kiss, reactions from family and friends, and the venue.
- Couple Portraits: A mix of posed and candid portraits, showing you as a couple in various settings (e.g., outdoor portraits, intimate close-ups).
- Reception & Party: Photos of guests enjoying the reception, the first dance, cake cutting, and spontaneous moments of fun.
- Key Guest Shots: While you’ll want a few formal family portraits, also consider including candid shots of guests enjoying the event. Focus on the smiles, laughter, and emotional moments that will make the album feel personal and vibrant.
- Details Matter: Don’t forget about the little things that bring the day together — flowers, rings, wedding favors, décor, and any sentimental keepsakes or notes exchanged.
- Quality Over Quantity: It’s easy to get carried away when choosing photos, but remember that your album should tell a story. Select only the best versions of each moment — avoid repeating similar photos or shots that don’t add something new to the story.
- Candid vs. Posed: Aim for a balance of posed portraits and natural, candid moments. While portraits are important, candid photos capture real emotions and unplanned moments, adding authenticity to the album.
By thoughtfully selecting each photo, you ensure that your wedding album isn’t just a collection of images, but a curated visual story that reflects the depth and emotions of your day.
5. Select a Cover Photo
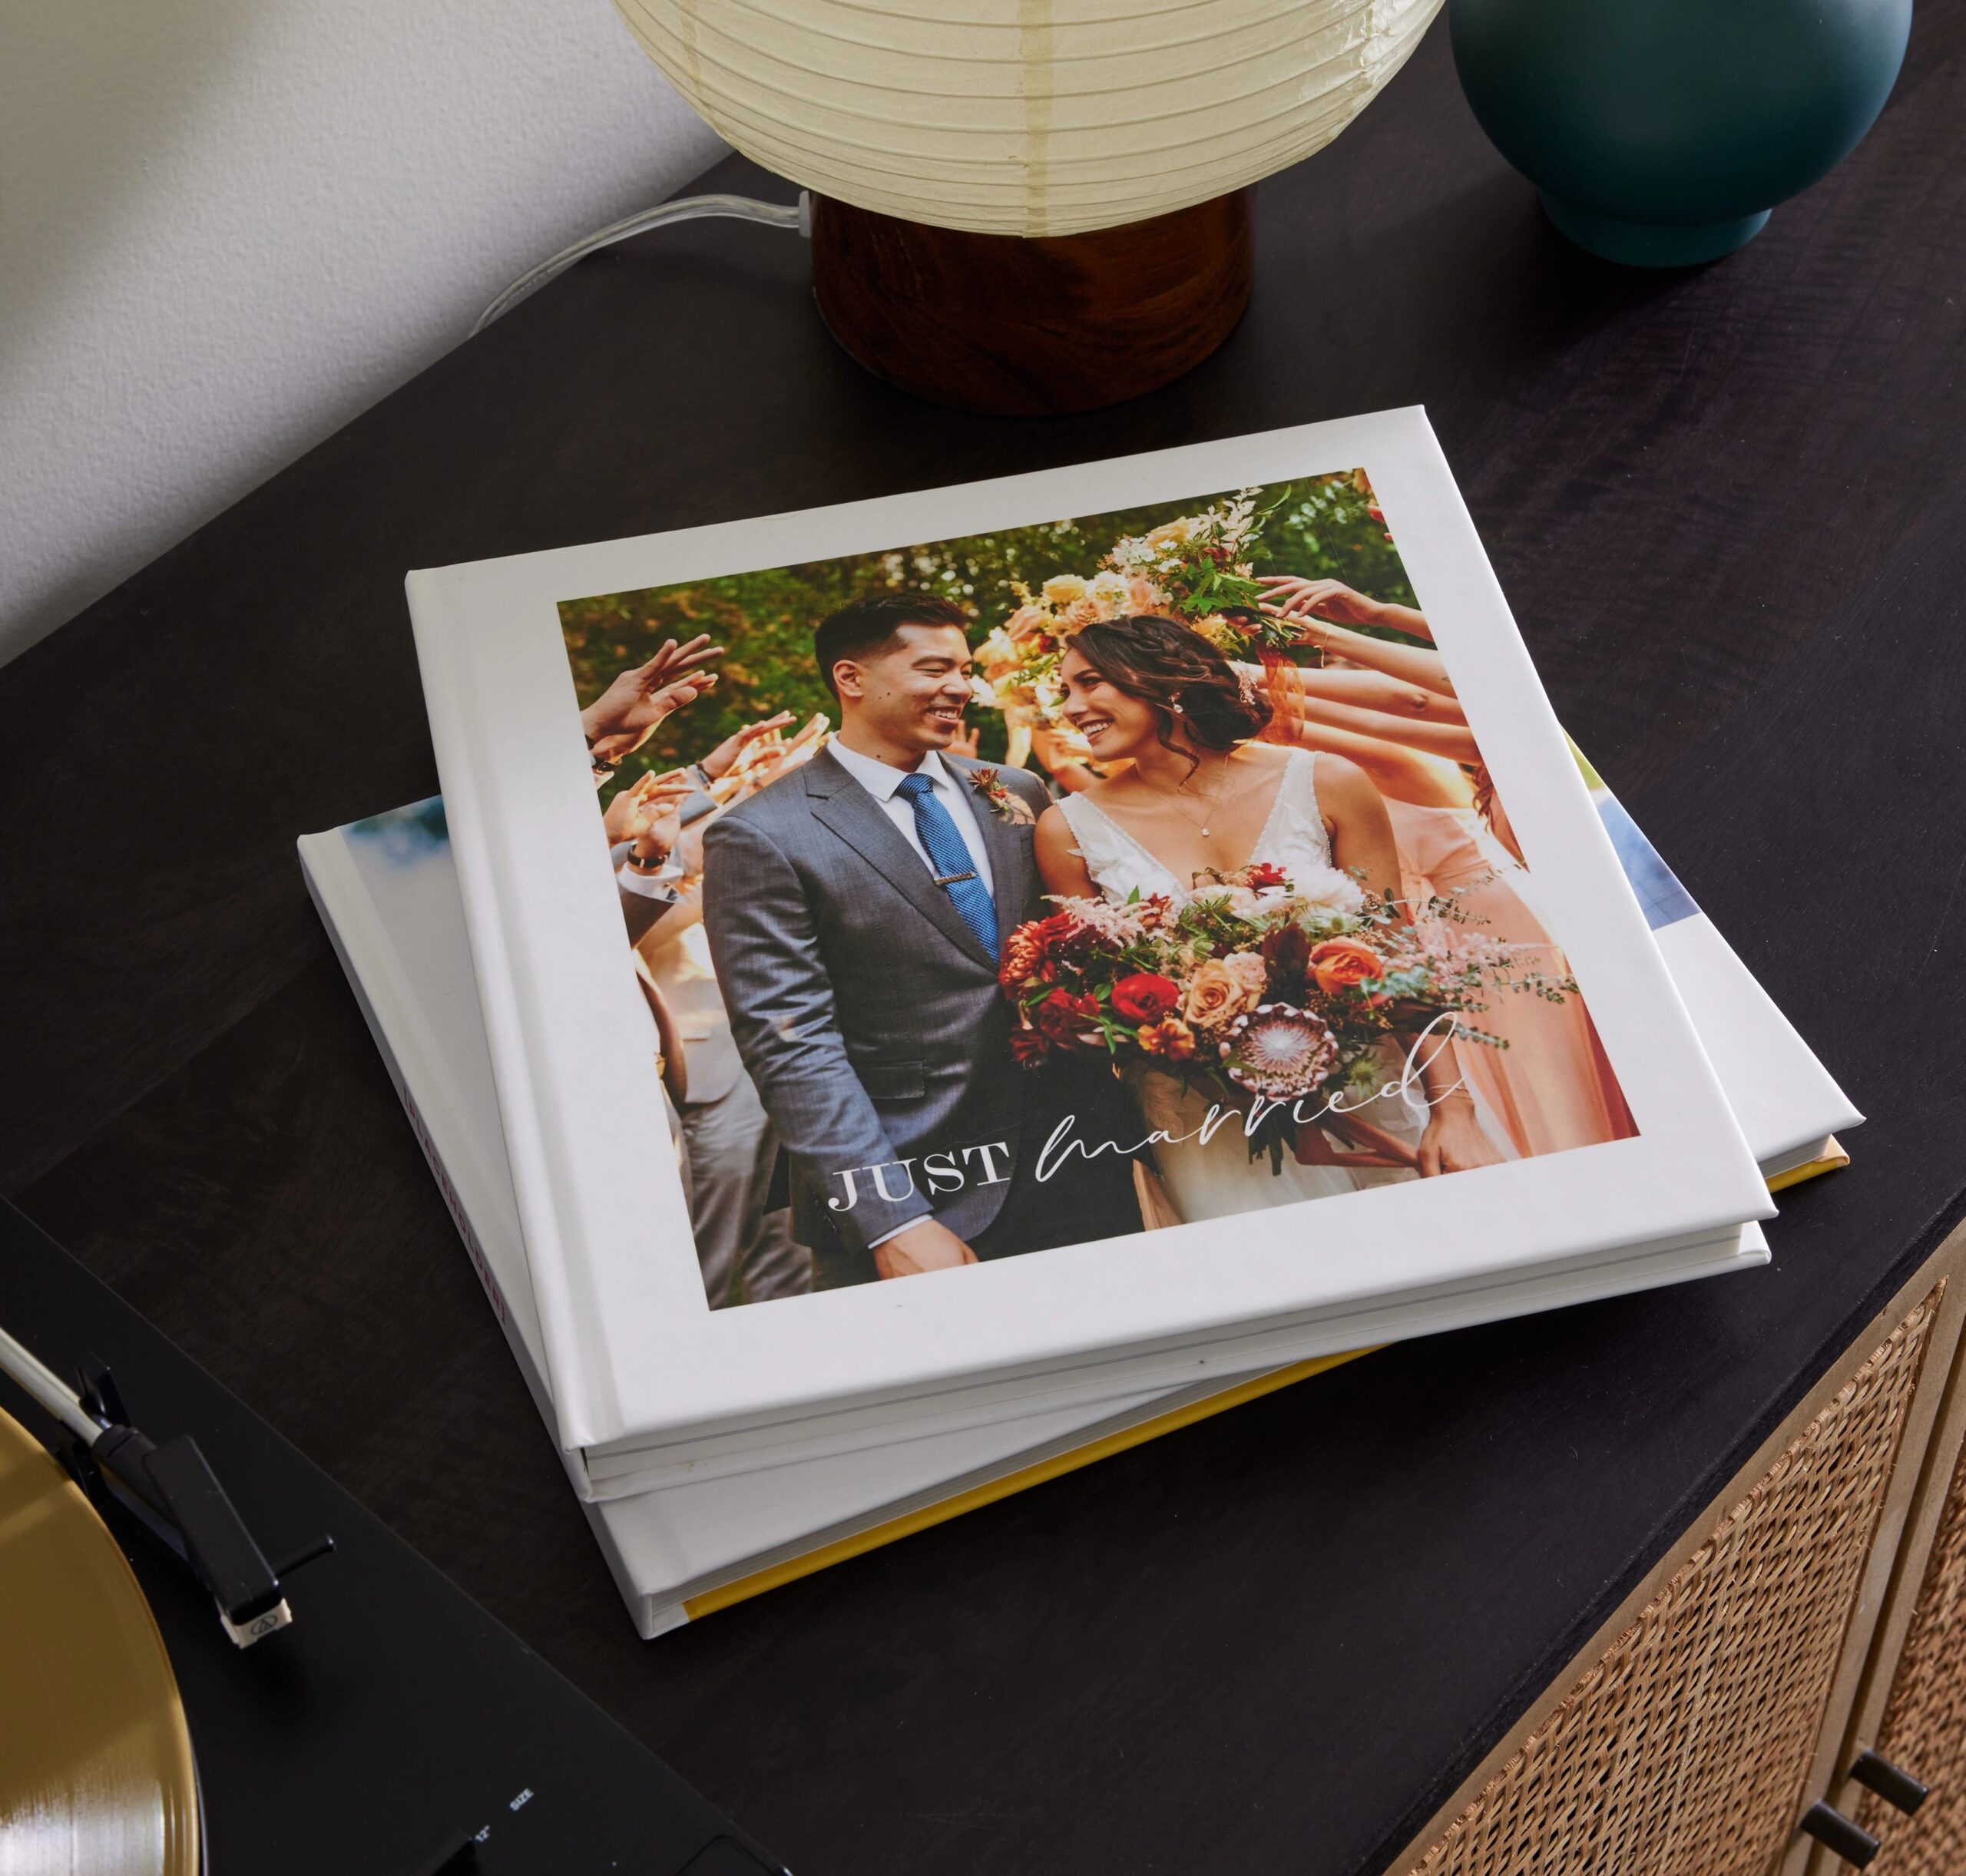
The cover photo is the first thing people will see, so make it count. It should be an image that’s both meaningful and visually striking. Consider these tips when selecting your cover photo:
- Close-Up: A close-up of the couple — either a kiss, a hug, or a sweet moment.
- Scenic Shot: A wide-angle image of the venue or an outdoor ceremony shot.
- Timeless: Avoid overly trendy or specific moments and opt for a timeless image that will still feel meaningful years later.
- High-Quality: Ensure the photo you select is high resolution for the best print quality.
Your cover sets the tone for the entire album, so choose wisely.
6. Customize the Page Layouts
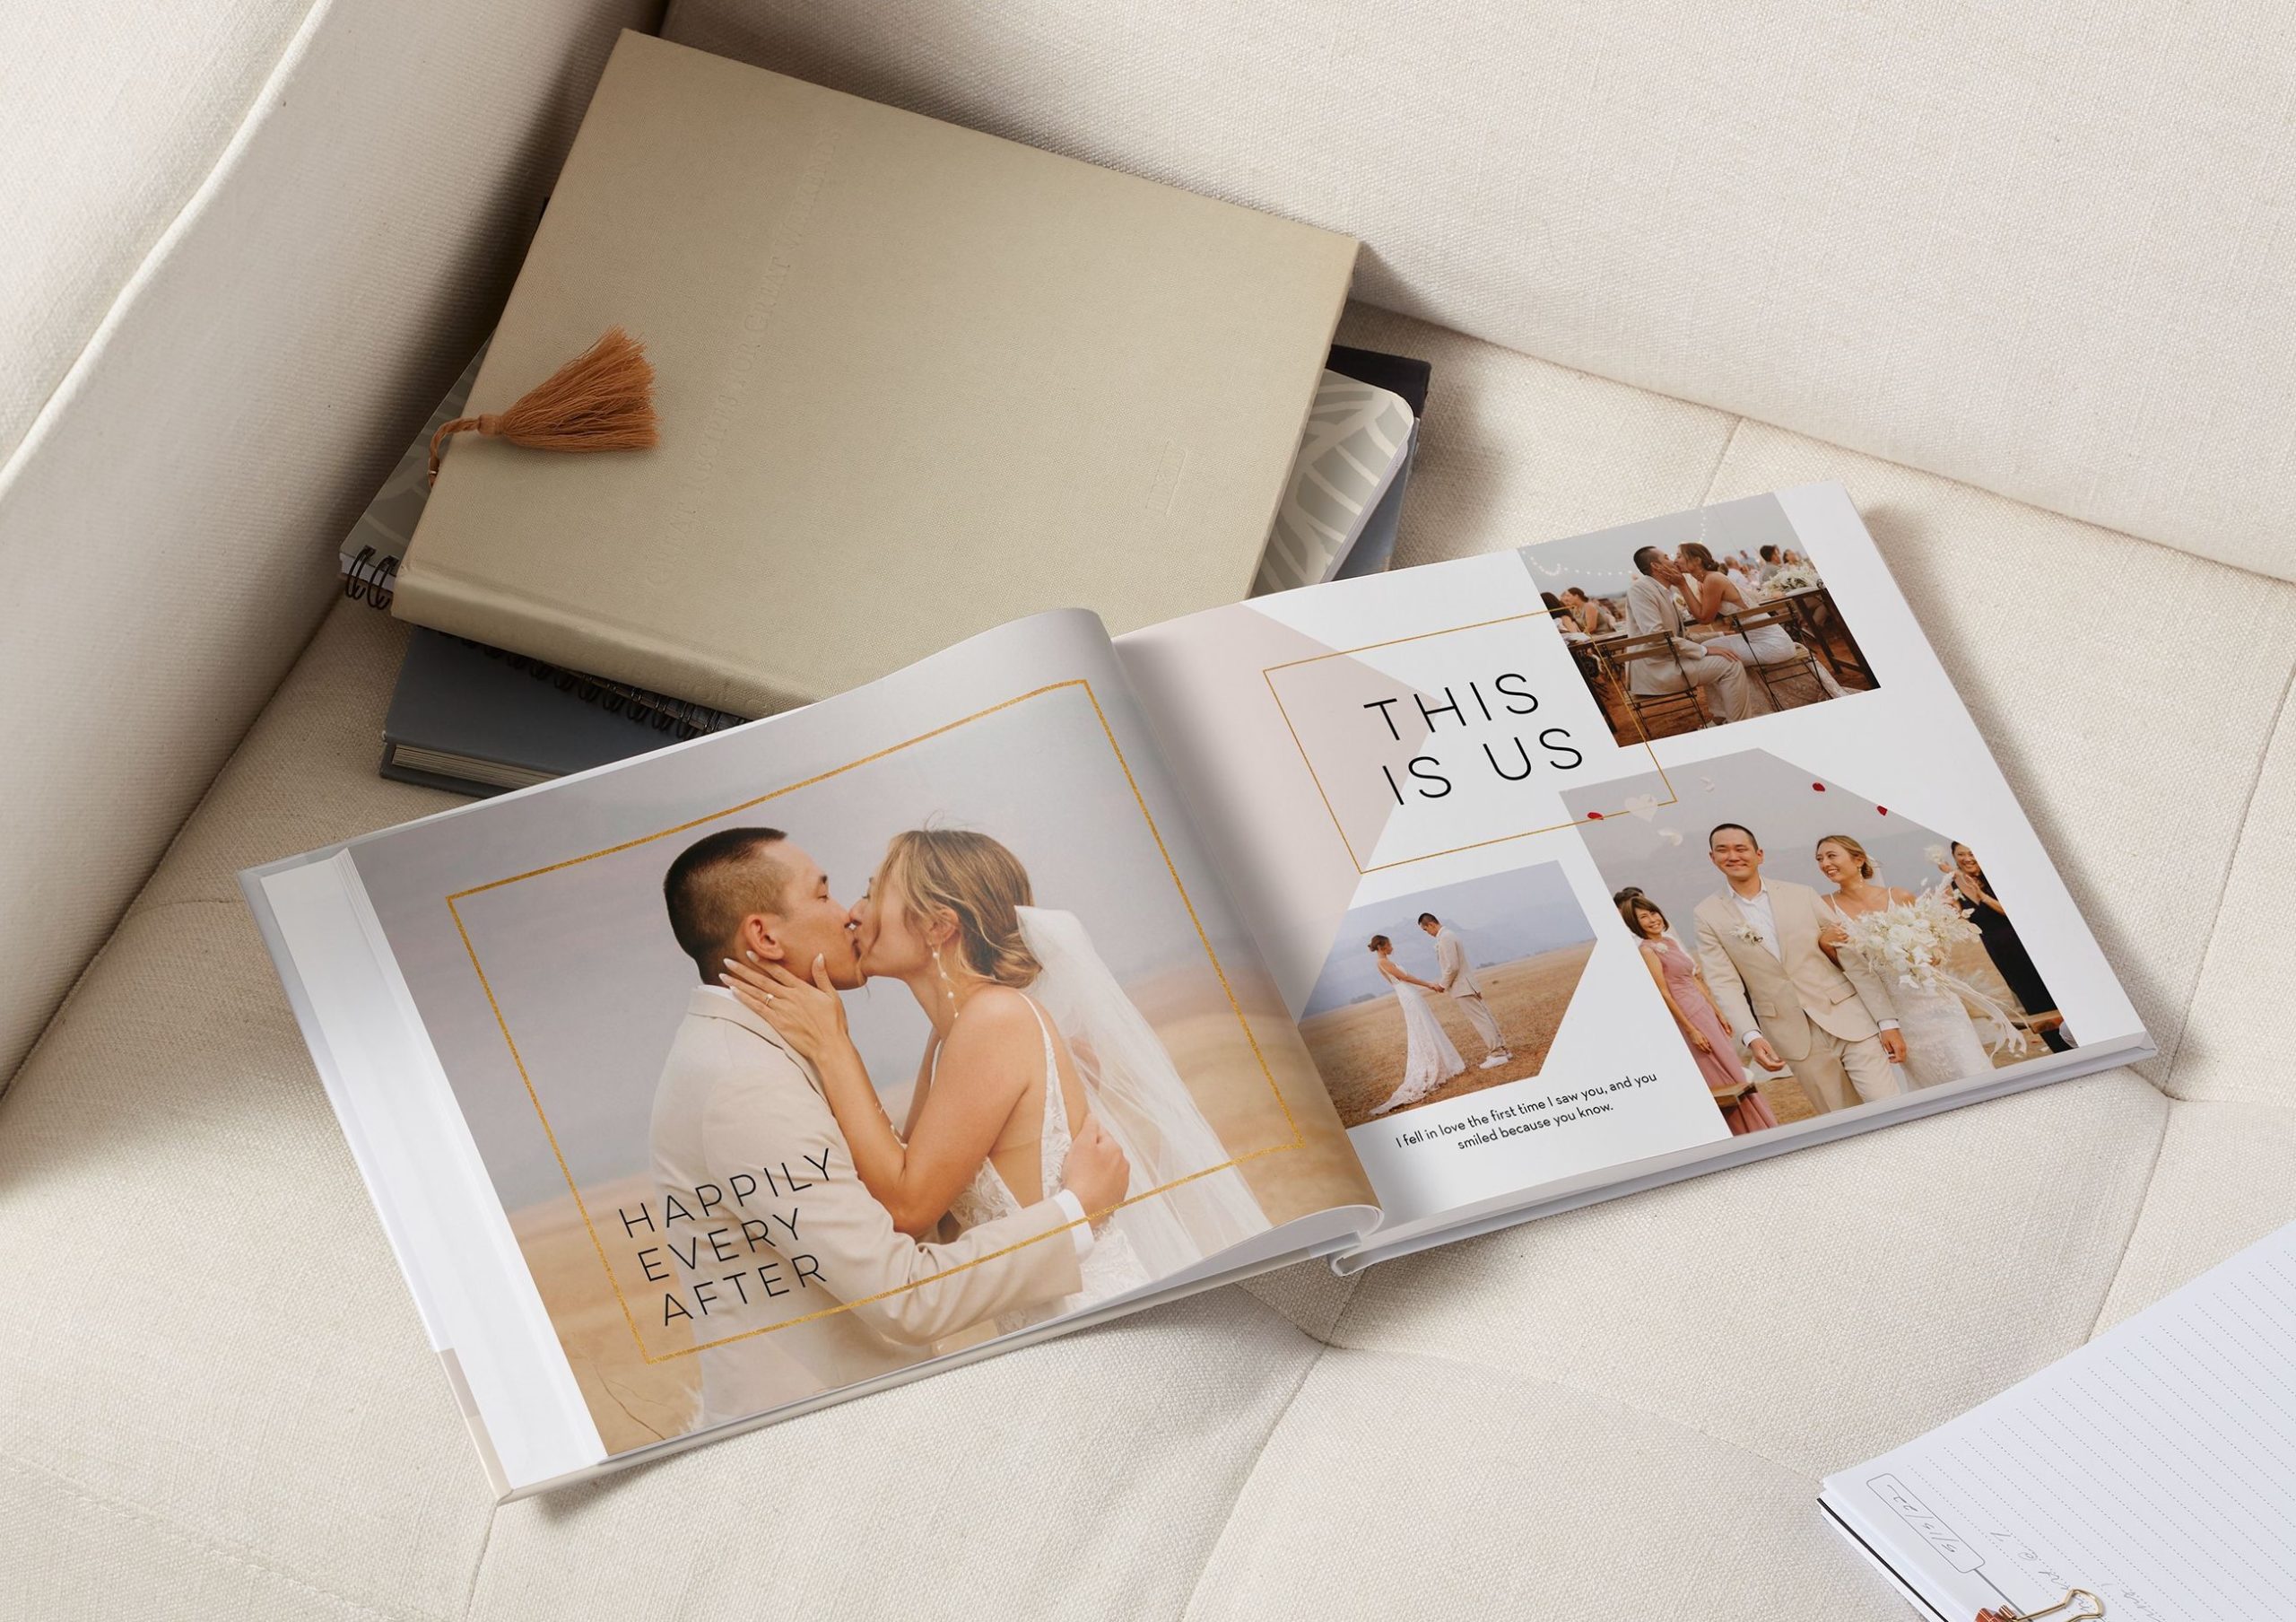
Choosing layouts and spreads can feel like an overwhelming task, but there are simple guidelines to follow. Most wedding albums offer a variety of layout options, from single photo pages to multi-photo collages.
Here are a few tips for selecting layouts:
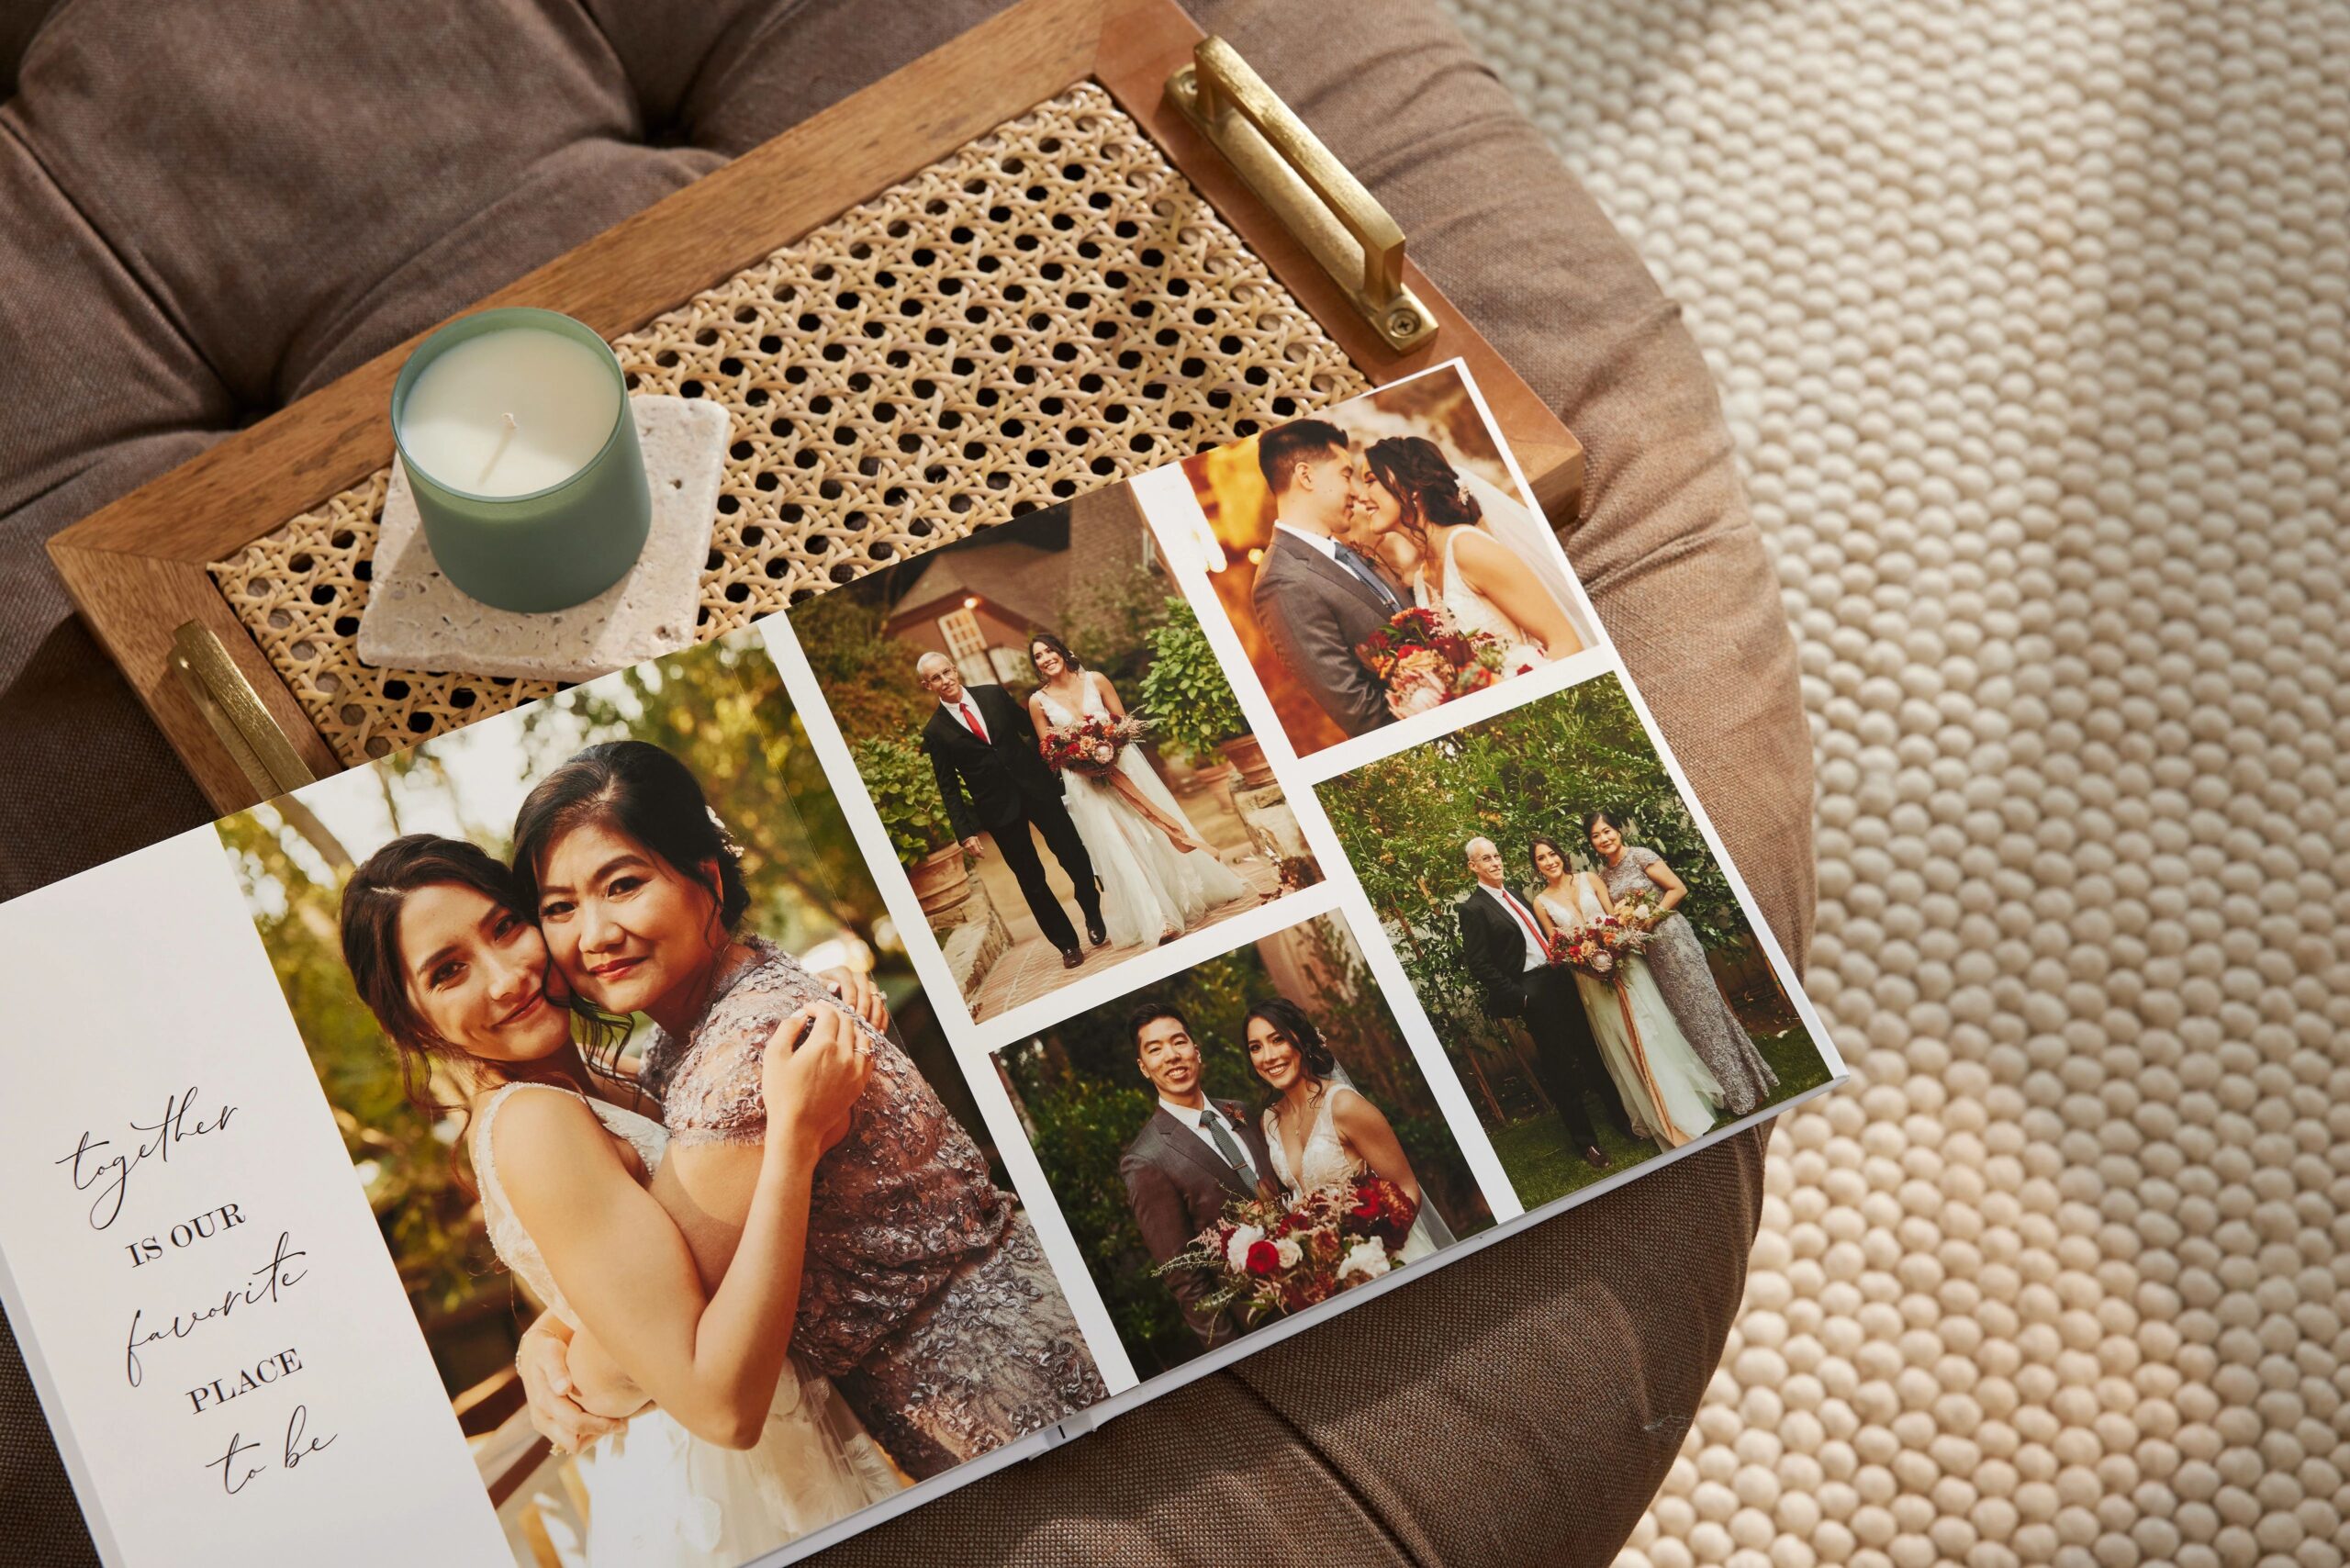
- One Photo per Page: Ideal for your most emotional or stunning shots, such as your first kiss or portraits.
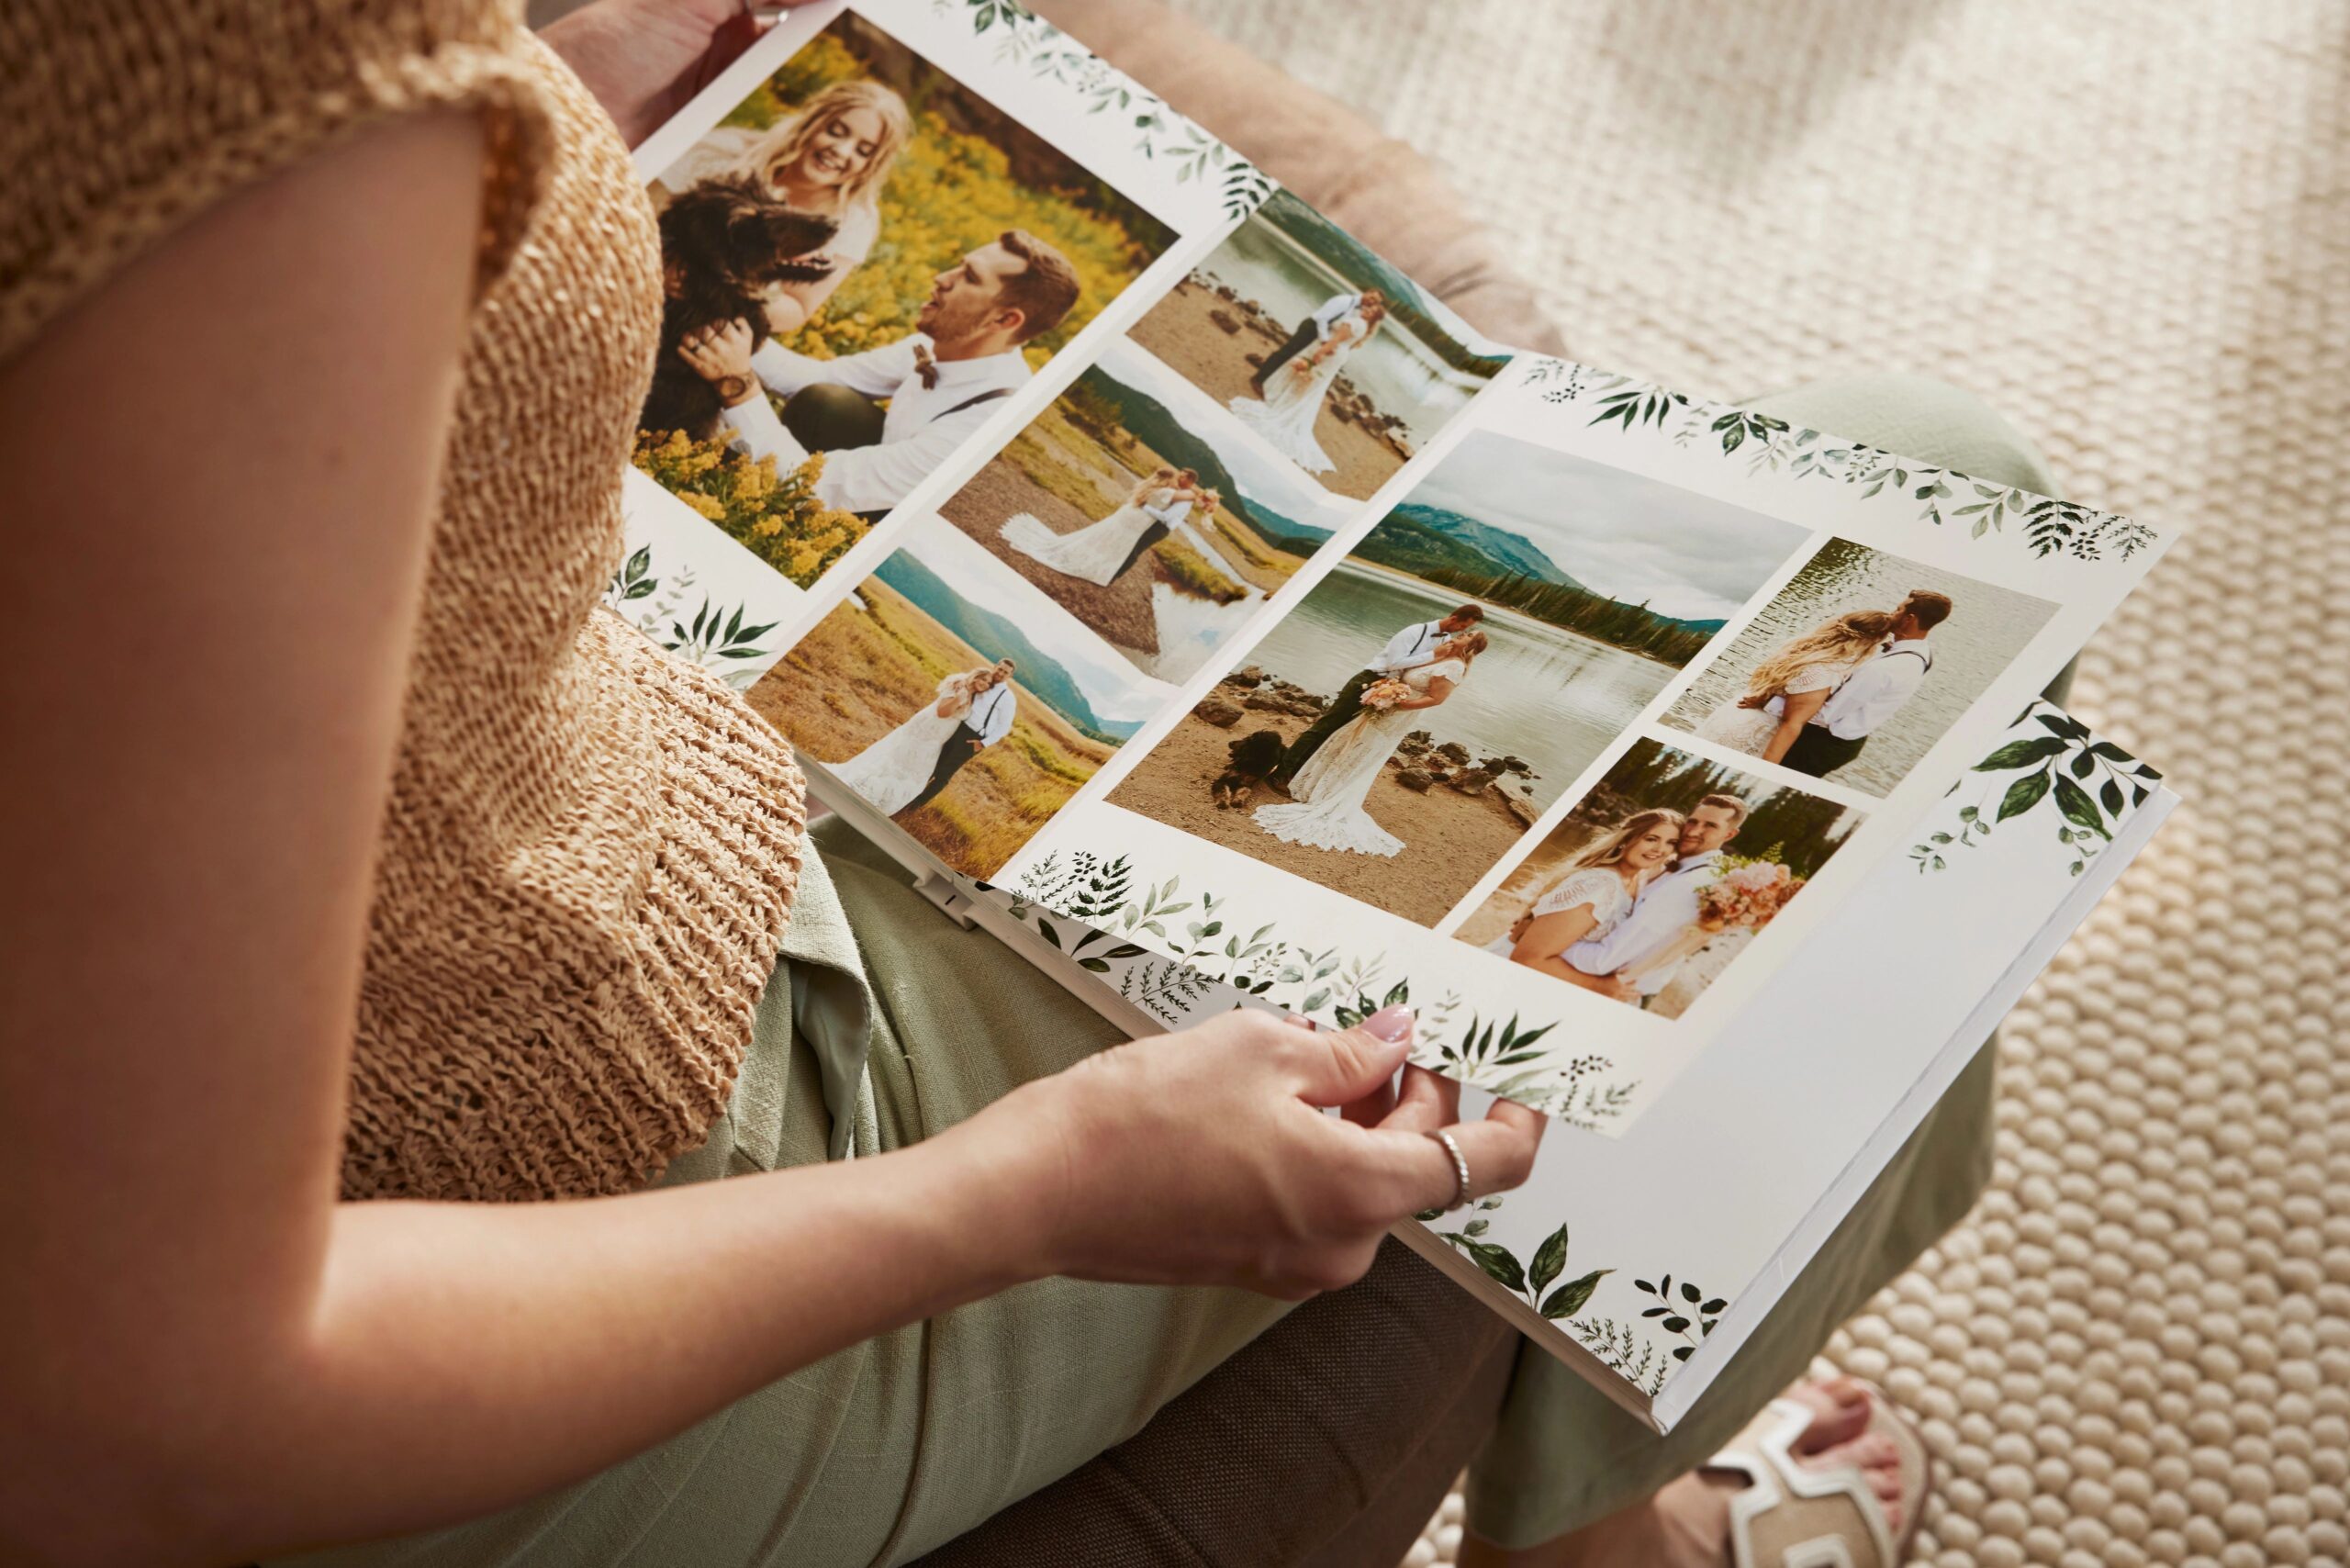
- Multiple Photos per Spread: Great for candid shots, family photos, and reception moments.
- Mix It Up: A combination of layouts keeps the album visually dynamic and engaging.
Consider the type of moments you’re trying to showcase — larger, more dramatic shots deserve a single page, while smaller, candid moments can be grouped into a collage.
7. Include Titles and Captions
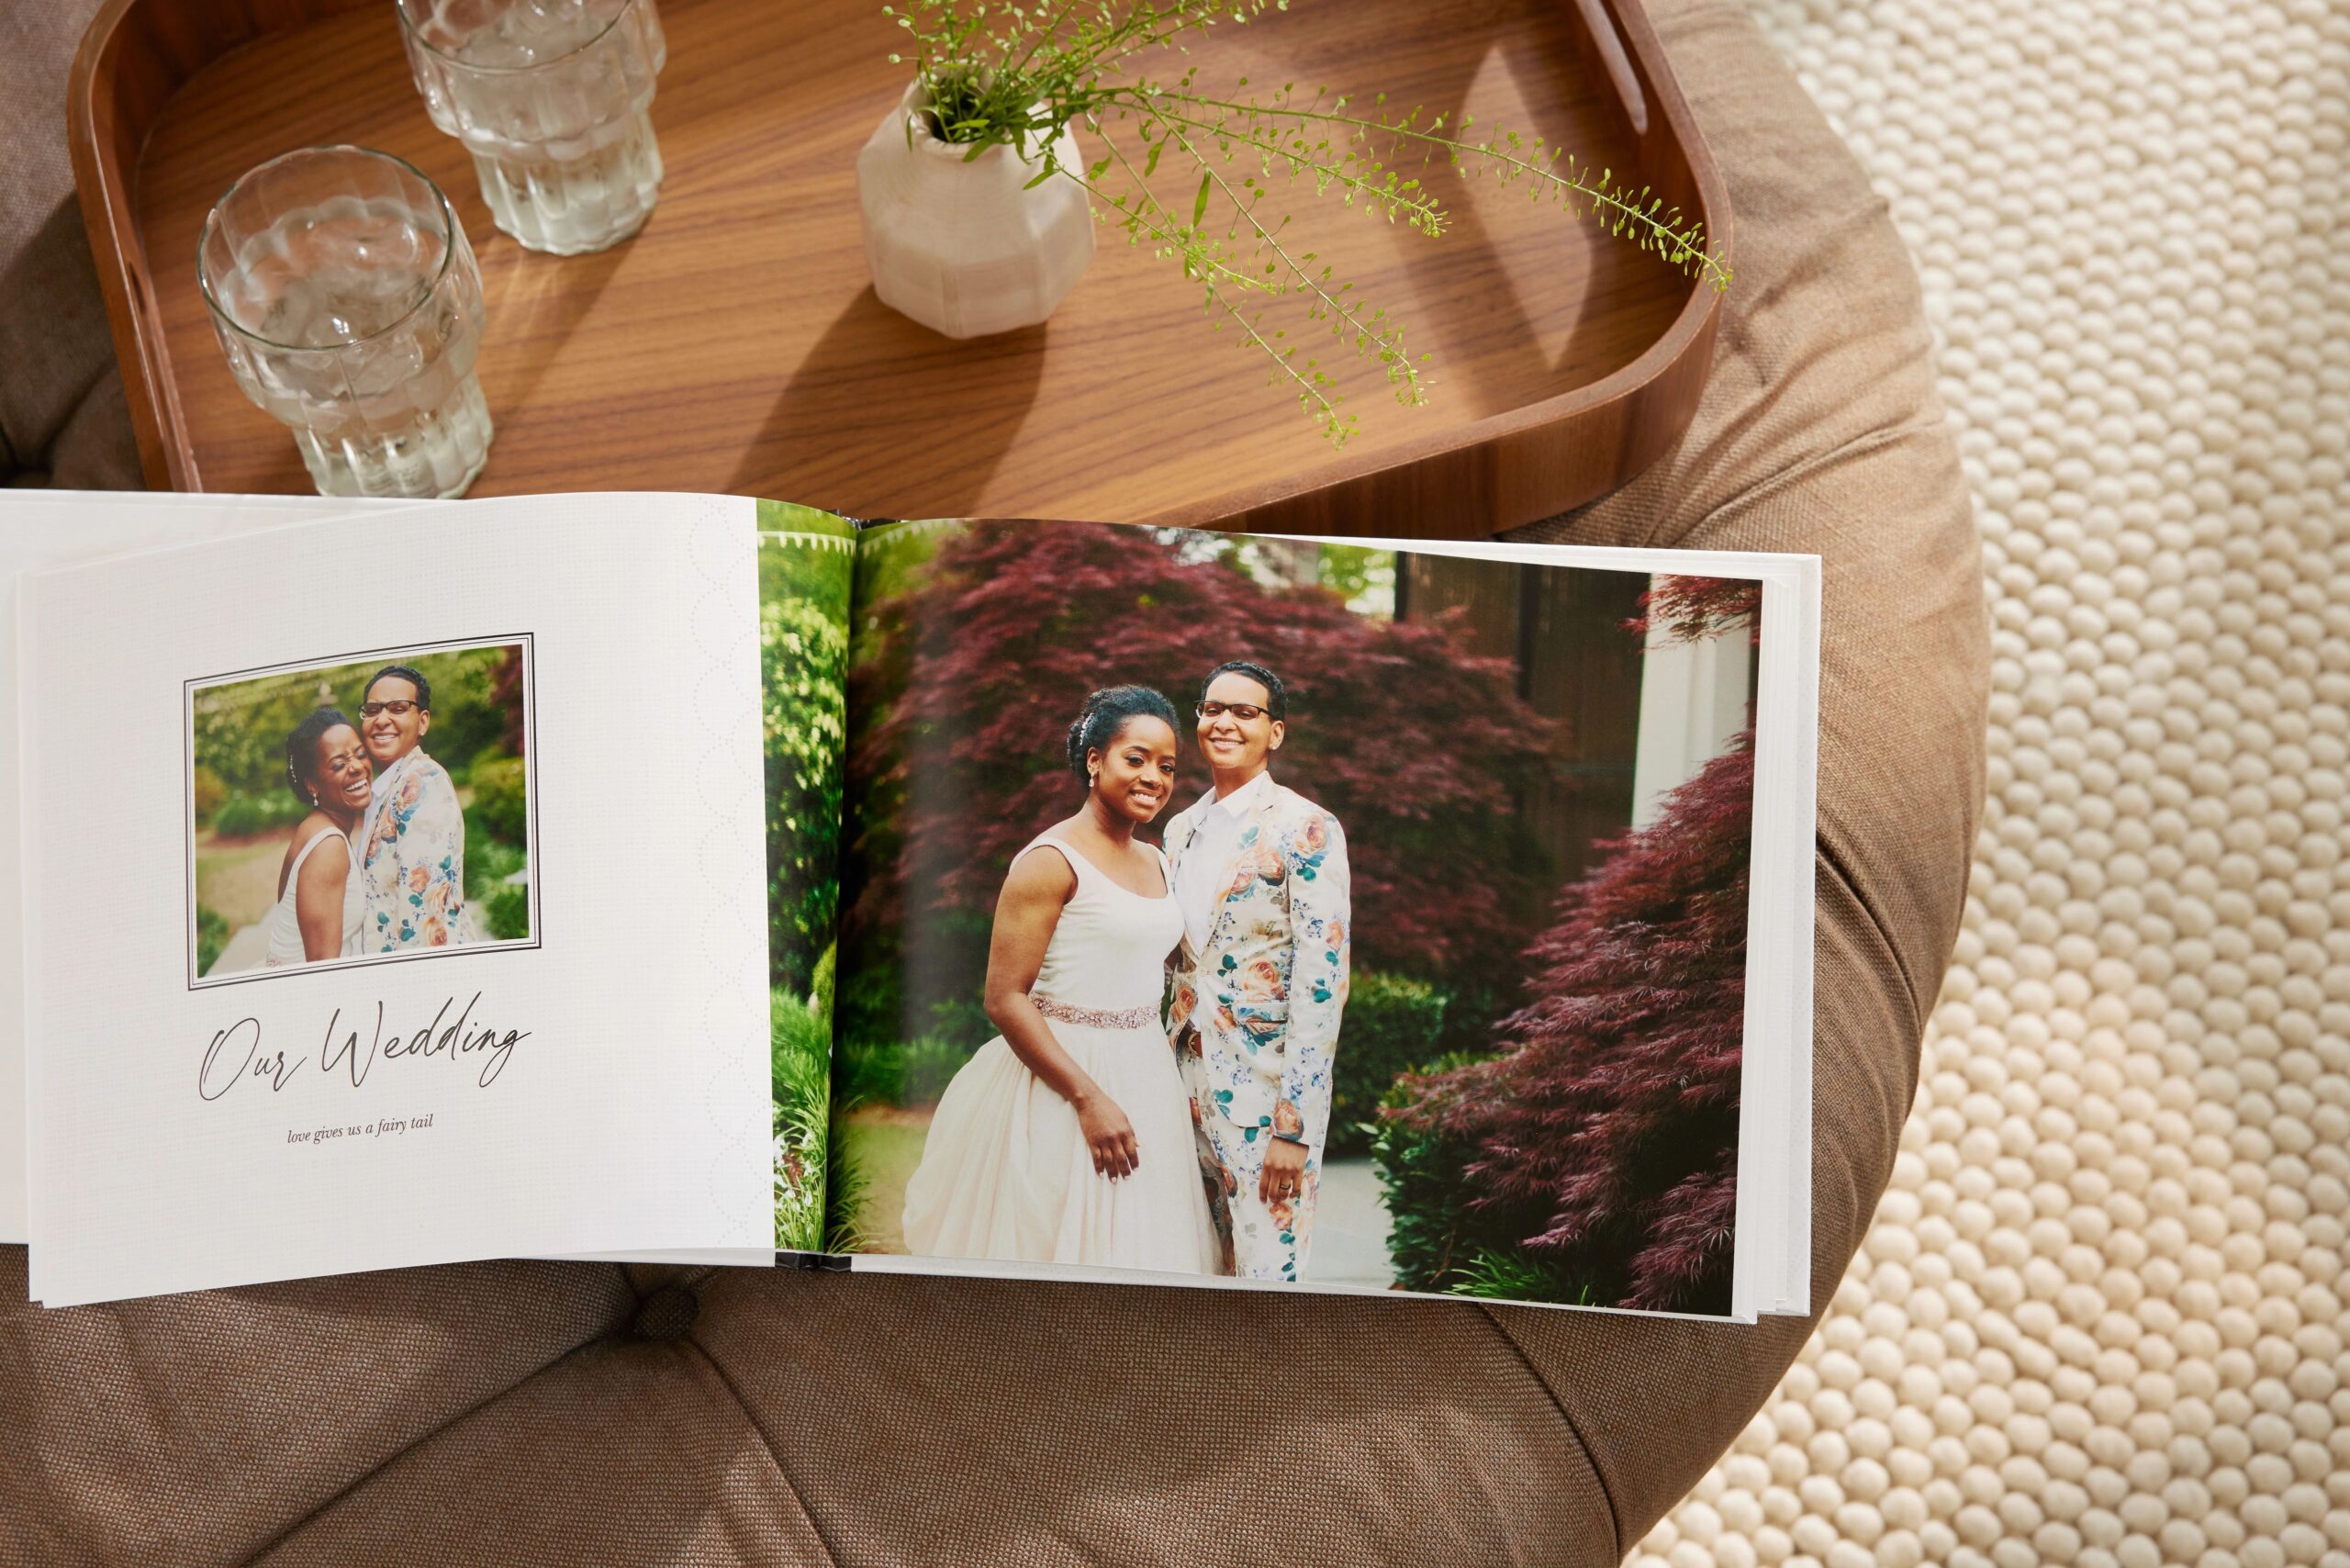
Titles and captions are an important detail that can help tell the story behind each photo. While your album is primarily visual, adding a few words of context can enhance the emotional connection.
For example, consider adding:
- Captions: Describe the emotion, location, or meaning of each shot (e.g., “Our first dance as husband and wife”).
- Titles: Introduce each section (e.g., “The Ceremony,” “The Reception”).
But don’t overdo it — a little goes a long way, and simple captions often work best.
8. What Else to Include
To make your wedding album even more meaningful, consider adding printed keepsakes that capture the emotion and personality of your big day. These details can help tell the full story and bring back the little moments you might otherwise forget.
Here are some ideas:
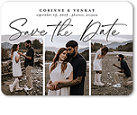
- Wedding Invitation Suite: Include a scan or photo of your save the date, wedding invitation, RSVP card, or wedding thank you card. These set the tone for your event and serve as a beautiful visual introduction.
- Handwritten Vows or Letters: If you and your partner exchanged vows, notes, or letters, include scans or typed excerpts for a deeply personal touch.
- Ceremony Program: A copy of your ceremony program can highlight the order of events, special readings, and the names of your wedding party.
- Menus or Place Cards: Capture the details of your reception by including personalized elements like dinner menus or escort cards.
- Pressed Flowers: Some couples scan or photograph pressed petals from their bouquet or floral arrangements for a subtle, romantic detail.
- Wedding Day Timeline or Itinerary: If you had a printed schedule or wedding timeline for your bridal party or guests, this can be a fun artifact to remember the structure of your day.
- Custom Illustrations or Maps: Many couples include a custom venue map or illustration from their invitations — these are perfect visual fillers between spreads.
- Other Memorabilia: Items like photo booth strips, dried petals, or even a wedding hashtag sign can bring personality and texture to your album.
9. Review Before You Finalize
Before you hit “publish” or “order” on your wedding album, take the time to review every detail. Make sure that:
- Photos are correctly placed and in the right order.
- Captions and titles are spelled correctly.
- There are no missing pages or sections.
- The layout flows naturally.
A fresh set of eyes can be helpful, so consider having a friend or family member give it a quick look before you finalize it.
10. Pick Extra High-Quality Features
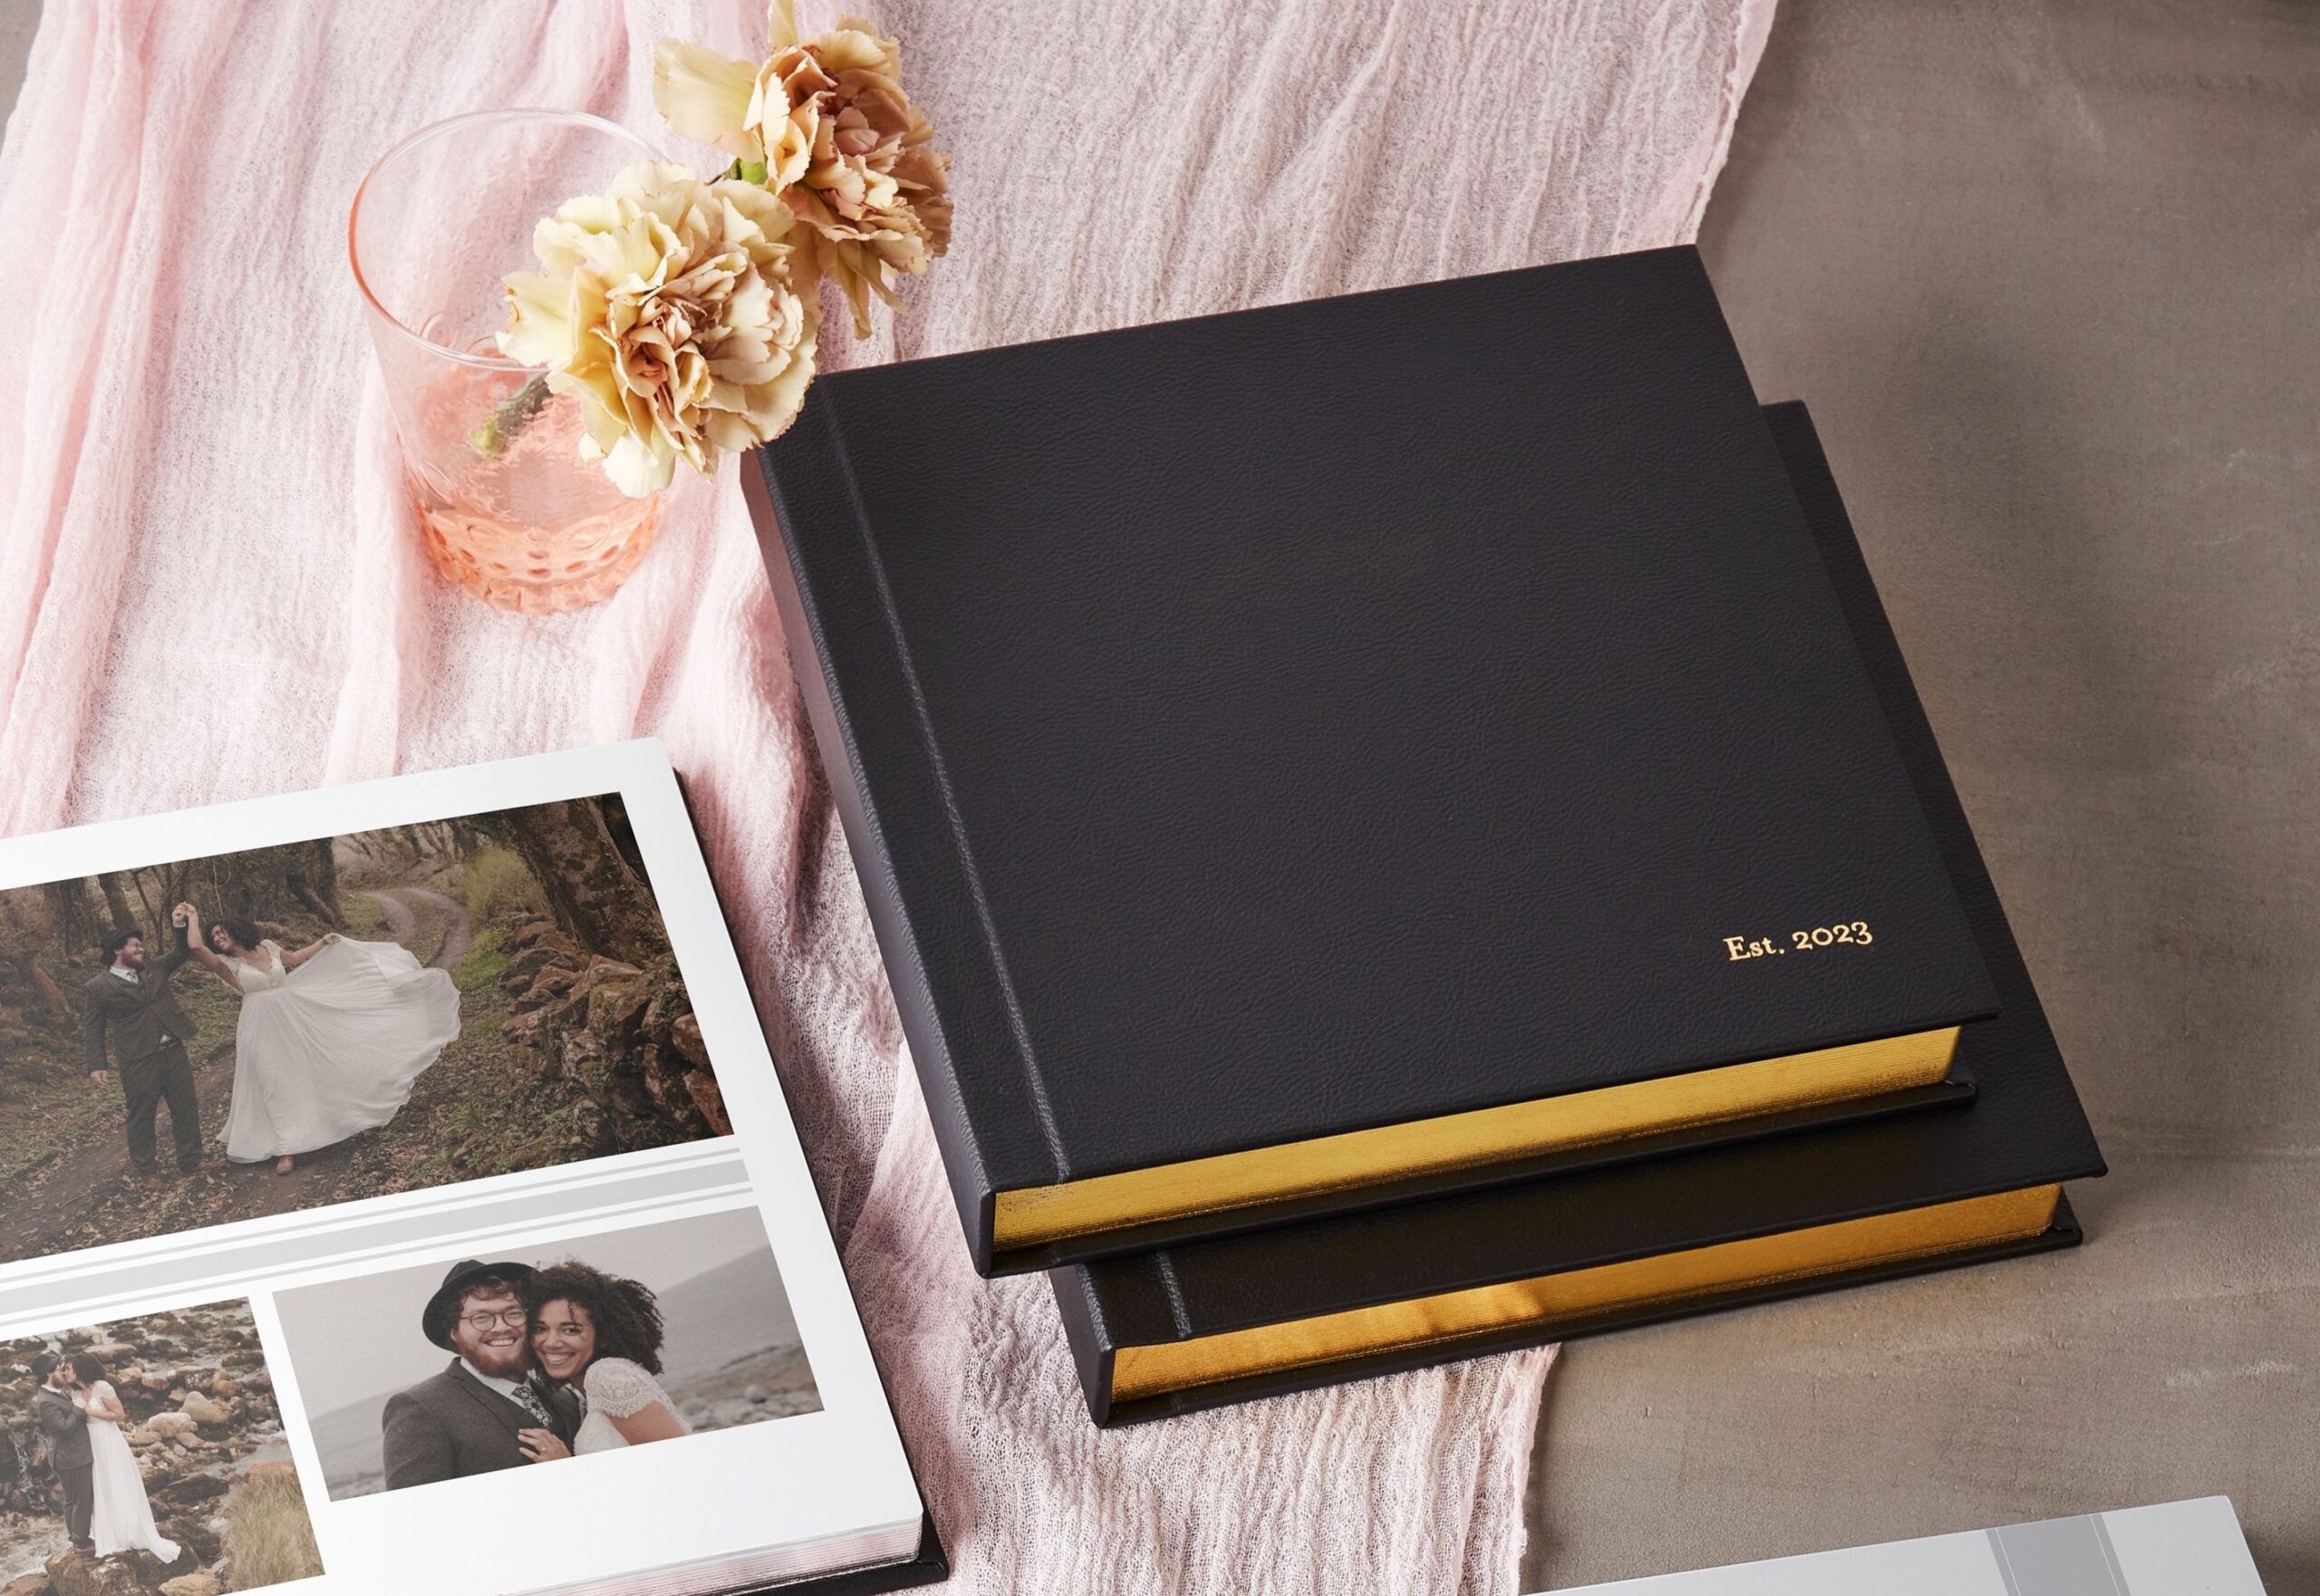
Once you’ve finalized the layout and content of your wedding photo album, take it to the next level with premium features that elevate its look, feel, and longevity. These finishing touches not only enhance the aesthetic but also preserve your memories for years to come.
Premium Covers & Bindings
- Premium Leather Cover: A luxurious upgrade perfect for your main wedding album.
- Deluxe Layflat: Thicker, premium-quality pages with a professional feel.
- Flush Mount: Ultra-thick, board-mounted pages with elevated extras like gilded edges or rounded corners — ideal for heirloom albums.
Luxury Add-ons & Extras
- Glossy Pages: Enhance image sharpness and vibrancy with a glossy finish.
- Metallic Accents: Highlight names, dates, or titles with shimmering foil touches.
- Gilded Page Edges & Rounded Corners (Flush Mount only): Elegant upgrades that add polish and refinement.
- Gift Boxes: Store your album in a protective keepsake box for added presentation.
- Memorabilia Pockets: Tuck in small mementos like extra photos, pressed flowers, or notes.
These premium options turn your wedding album into a lasting work of art — worthy of your most treasured memories.
Related Resources on Wedding Photo Albums
Your wedding album is more than just a collection of photos — it’s a storybook of one of the most important days of your life. With thoughtful planning, meaningful details, and high-quality finishing touches, you can create an album that captures the emotion, energy, and beauty of your celebration. Take your time selecting the right photos, designing each layout, and choosing the features that reflect your style. In the end, you’ll have a keepsake you’ll be proud to flip through for decades to come — and share with generations to follow.
Additional Resources: